
Last Updated: November 10, 2026
Quick Summary
To troubleshoot a forensic workstation without damaging evidence, record a baseline of idle CPU and memory use, imaging throughput, boot time, and firmware versions before changing anything. Then reproduce the fault on a test disk image, measure one bottleneck at a time, and log every change with a timestamp so you can roll back.
- Capture idle CPU and memory use, imaging throughput, boot time, and firmware versions as your baseline.
- Reproduce any fault on a test disk image so a failed fix never touches evidence.
- Match symptoms to CPU, memory, storage, or thermal bottlenecks before spending budget.
- For an undetected drive, swap the data cable before suspecting the controller.
- Stop immediately on a hash mismatch and re-image from a fresh verified source.
Table of Contents
- Start With a Baseline Before You Touch the Hardware
- Diagnose Slow Performance With Measurable Checks
- Forensic Workstation Specifications That Prevent Repeat Failures
- When the Workstation Cannot Detect a Drive
- Write Blocker Troubleshooting Without Breaking Chain of Custody
- Forensic Imaging Troubleshooting: Fixing Failures and Slow Throughput
- Forensic Workstation Maintenance That Stops Problems Early
- Plan Your Next Workstation Upgrade With AVAIL Forensics Systems
- Frequently Asked Questions
Start With a Baseline Before You Touch the Hardware
A forensic workstation is a purpose-built computer configured for digital forensics work: imaging drives, processing case data, and running analysis tools without corrupting evidence.
A baseline is simple to capture:
- Idle CPU and memory use, checked in Task Manager or Resource Monitor
- Normal imaging throughput on a known-good drive
- Boot time, logged with a stopwatch
- Current firmware, driver, and operating system versions
- Free space on every evidence and scratch volume
Write these numbers down. Without them, “slow” is a feeling. With them, it is a measurement you can compare against after every change.
Watch out: the biggest mistake is troubleshooting on a live case drive. Reproduce the fault on a test disk image first, so a failed fix never touches evidence.
Diagnose Slow Performance With Measurable Checks
Slow performance is the most common complaint in a forensic lab, and it almost always traces to one of four bottlenecks: CPU, memory, storage, or thermals. The trap is replacing parts before you know which one is saturated. Measure first, then change one variable at a time.
Start by capturing a repeatable workload. Hash a fixed test image of known size, time it with a stopwatch, and record the result. Do the same for a tool launch and a short indexing run.
Then open Resource Monitor or Performance Monitor and watch these indicators during the real workload:
- CPU utilization per core, not just the total, a single-threaded tool can pin one core at 100% while the total reads 25%
- Memory commit charge and hard page faults per second, sustained paging means the working set does not fit in RAM
- Disk queue length and average response time on the evidence and scratch volumes
- Disk throughput in MB/s during imaging, compared to your recorded baseline
- Package temperature and clock speed under sustained load
Match the symptom to the bottleneck before you spend a budget line:
- CPU-bound: every core pegged during hashing, indexing, or parsing, with disk and memory quiet. More cores help parallel tool instances; higher clock speed helps single-threaded tools.
- Memory-bound: constant paging, hard page faults climbing, and tools slowing as case size grows. This is the classic sign that memory was sized for one tool, not for a tool plus the operating system plus a virtual machine.
- Storage-bound: high disk queue length with low CPU use, and imaging throughput well below baseline. Check the cable, the port, the controller, and the write blocker before blaming the drive.
- Thermal: throughput drops after twenty to thirty minutes of sustained work and recovers after a cooldown. Log the temperature curve to confirm it rather than guessing.
Watch out: the biggest mistake is troubleshooting on a live case drive.
If throughput drops only after sustained work, suspect heat before hardware failure. Thermal throttling slows the CPU to protect itself, and a platform built for continuous load, such as the DAVE DDXR3-LIQ Digital Forensic Workstation, is designed for exactly that scenario.
Forensic Workstation Specifications That Prevent Repeat Failures
Most repeat failures come from undersized specs, not bad luck. Forensic workstation specifications should match your actual workload, not a generic office build. Size storage for full case images plus working copies. Choose a motherboard and power supply rated for continuous load.
A practical sizing approach:
- Storage: evidence capacity plus at least double that for working images
- Memory: enough for your largest tool plus the operating system and a virtual machine
- Cooling: rated for sustained load, not burst performance
- Ports: enough write-blocked connections for your busiest day
For agencies weighing hardware that avoids repeat failures, the DAVE DWKS Digital Forensics Workstation is built around investigator workloads. Watch out: buying on raw clock speed alone often produces a machine that runs hot and slows down under real case volume.
When the Workstation Cannot Detect a Drive
A drive that will not appear is usually a connection, power, or controller problem, not a dead disk.
First, classify the drive. If it is evidence, stop and treat every subsequent step as a chain-of-custody event.
Work through this decision path in order, logging each step with a timestamp, the serial number of the drive and any adapter, and the result:
- Confirm power. Does the drive spin up or show activity? A drive that never powers on points to power or enclosure, not the host.
- Swap the data cable. Use a known-good cable of the same type. Cables fail more often than controllers.
- Try a different port and a different power lead. Isolate the port before suspecting the drive.
- Test in a known-good bay or external enclosure. If the drive appears there, the fault is in the original host path.
- Check Device Manager for the drive and for controller errors. A drive that appears with a warning flag is a driver or firmware issue, not a dead disk.
- Update the controller driver and firmware from the manufacturer. Record the old and new versions so you can roll back.
- Try the drive behind a write blocker on a second machine. This separates the host from the drive and keeps the evidence path read-only.
If the drive is still invisible after these steps, do not keep reseating it.
For labs that image drives daily, a dedicated imager removes many variables at once. The Tableau TX1 Forensic Imaging Kit is built for reliable, fast imaging with a touch-screen interface that shortens the learning curve, and it gives you a second, independent path to confirm whether a drive is readable before you touch the workstation.
Work through this decision path in order, logging each step with a timestamp, the drive serial number, and the result.
| Step | What to do | What it isolates |
|---|---|---|
| 1 | Confirm power; check spin-up or activity | Power or enclosure, not host |
| 2 | Swap the data cable for a known-good one | Cables fail more often than controllers |
| 3 | Try a different port and power lead | The port, before suspecting the drive |
| 4 | Test in a known-good bay or external enclosure | Original host path |
| 5 | Check Device Manager for drive and controller errors | Driver or firmware issue |
| 6 | Update controller driver and firmware from manufacturer | Record old and new versions to roll back |
| 7 | Try the drive behind a write blocker on a second machine | Separates host from drive, keeps path read-only |
Write Blocker Troubleshooting Without Breaking Chain of Custody
A write blocker is a hardware or software bridge that lets you read a drive while physically preventing any write. When it misbehaves, the fix must never compromise evidence integrity.
Common write blocker symptoms and fixes:
- Drive not visible: check the blocker’s power and its host connection first
- Slow reads: test the blocker on a known-good drive to isolate the cause
- Intermittent drops: replace the cable before suspecting the blocker
- Hash mismatch: stop immediately and re-image from a fresh, verified source
Every action you take on a write blocker during troubleshooting should be recorded. Note the serial number, the time, and the result. If a hash verification fails, do not “try again” quietly. Investigate the cause and document it, because evidence integrity depends on that record.
Forensic Imaging Troubleshooting: Fixing Failures and Slow Throughput
Forensic imaging troubleshooting starts with separating two problems: images that fail outright, and images that complete too slowly. Failures usually trace to a bad source drive, a loose connection, or a full destination. Slow throughput usually traces to a bottleneck in the chain.
Run this sequence:
- Verify the destination has free space before you start
- Test the source drive’s health with a diagnostic tool
- Swap cables and ports one at a time
- Confirm the write blocker is not throttling the connection
- Re-run the image and compare the hash to the source
A dedicated imager removes many variables at once. The Tableau TX1 Forensic Imaging Kit is built for reliable, fast imaging with a touch-screen interface that shortens the learning curve. When throughput still lags, compare your result to the baseline you recorded on day one.
Forensic Workstation Maintenance That Stops Problems Early
Forensic workstation maintenance is the cheapest troubleshooting you will ever do. A short monthly routine prevents most of the failures that stall a case backlog.
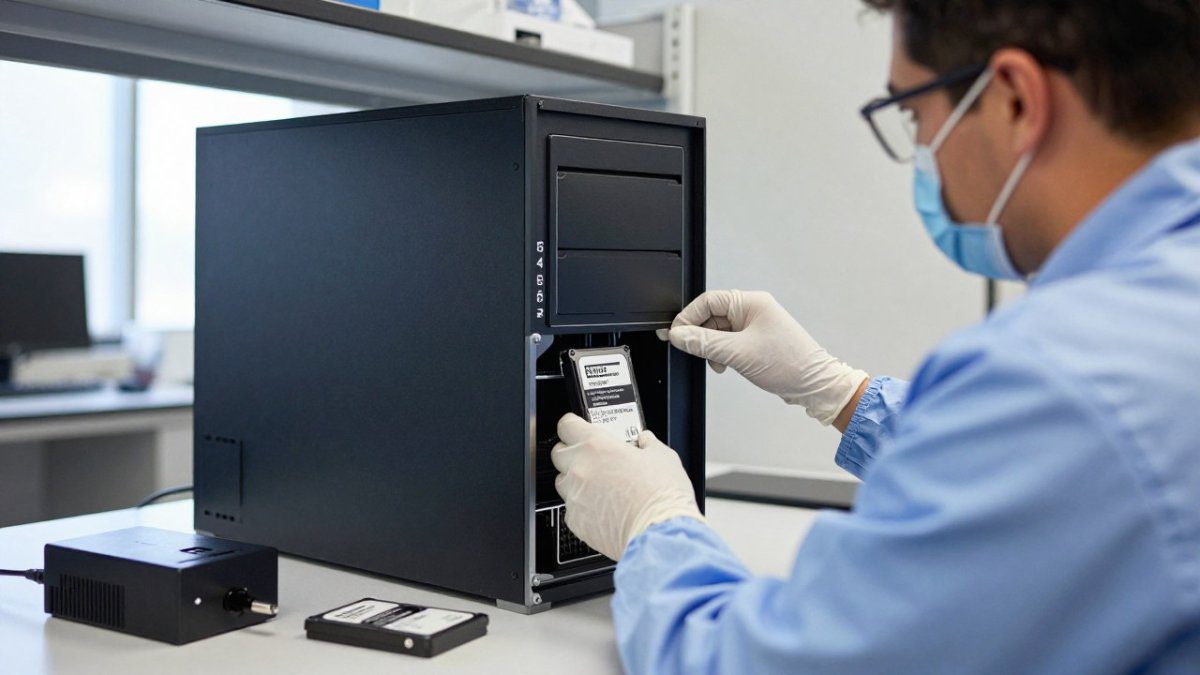
Our maintenance checklist:
- Clean dust from fans and vents
- Check drive health and SMART status
- Confirm backups completed and test a restore
- Install operating system and forensic software updates on a test machine first
- Review error logs for repeating warnings
- Verify temperature readings under load
- Confirm free space on evidence volumes
- Document firmware and driver versions
Storage is where maintenance pays off most. Evidence volume grows every month. A scalable direct-attached vault such as the DAVE RV8-16TB Digital Forensics RAID Vault gives you headroom before a full disk turns into a failed image.
Plan Your Next Workstation Upgrade With AVAIL Forensics Systems
Upgrades should follow evidence, not a calendar. If your baseline shows sustained slowdowns, repeat failures, or storage that fills faster than you can clear it, the machine is telling you something.
Plan the upgrade around three questions:
- What is your monthly evidence volume, and where will it be in two years?
- Which tools run in parallel, and how much memory do they need?
- How long must the system stay in service before the next refresh?
The DAVE line of investigator workstations and servers is engineered for long-term durability, with up-times of more than 6 years. When you are ready to move, the DAVE DDXR3 Digital Forensic Workstation gives you a current-generation platform to evaluate against your baseline. Our team also supports lab setup and e-discovery consulting, so the hardware and the workflow fit together.
Case backlogs do not wait for hardware to cooperate. If repeat failures and slow imaging are costing your team hours every week, it is time to look at hardware built for the job.
Frequently Asked Questions
How do you troubleshoot a forensic workstation that runs slowly?
Measure before you change anything. Log CPU utilization, memory utilization, and storage throughput during a representative imaging job, then compare those numbers to your baseline. If CPU sits near 100% during hashing, the processor is the limit. If the system swaps to disk, RAM is short. If throughput drops while CPU stays low, suspect the drive, cable, or write blocker. Fix the measured bottleneck rather than reinstalling software, and re-run the same job to confirm the change worked.
What should you check when a forensic workstation cannot detect a drive?
Work from the outside in. Confirm the evidence drive spins up or powers on, reseat the SATA or SAS cable at both ends, and try a known-good port. Check whether the drive appears in the BIOS or UEFI before Windows sees it. If it shows in firmware but not the operating system, the issue is a driver or disk management problem, not the drive. If it appears nowhere, test the drive in a write-blocked external enclosure to rule out the internal controller.
How can you troubleshoot write blocker problems without risking evidence integrity?
Never connect a suspect drive directly to a workstation to test it. Swap one variable at a time: cable, port, power supply, then the blocker itself, using a known-good test drive. Confirm the blocker is in read-only mode and that host software reports the device as read-only before attaching evidence. Document every step, including serial numbers and timestamps, so the chain of custody record shows the evidence drive was never written to.
What maintenance helps prevent forensic workstation hardware problems?
Schedule quarterly cleaning of intake filters and fans, and monitor temperature and CPU utilization under load so thermal throttling shows up before a case deadline. Update firmware and device drivers on a test image first, keep a known-good backup of the operating system, and verify hash values on archived disk images on a set schedule. Log every hardware change with date, technician, and reason so a later failure can be traced to a specific modification.

